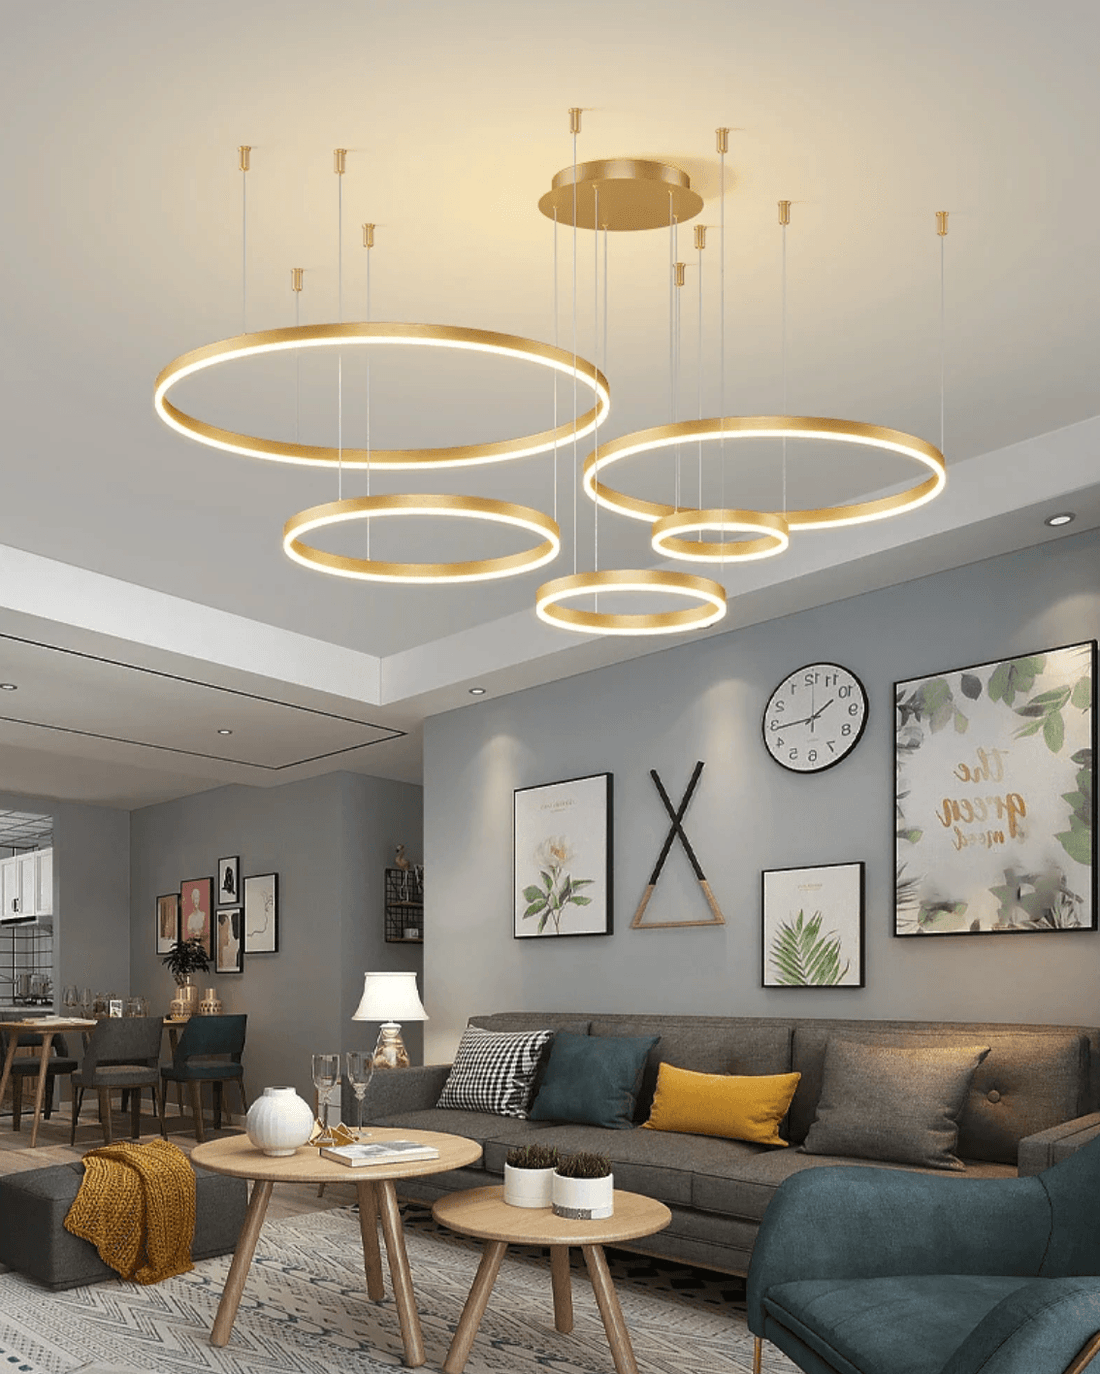
How to Install a Ceiling Light
One of the simplest yet most effective approaches to improving the appeal of rooms is upgrading the ceiling light fixtures. Whether you prefer contemporary-lighting dining room fixtures, rustic kitchen pendants, or classic chandeliers, proper knowledge on how to install a chandelier or a pendant light will help perfect the overall appearance of the well-lit space.
Here's a step-by-step guide on installing these fixtures safely and efficiently.
Step 1: Gather Your Tools and Safety Gear
First, gather the necessary tools:
- Screwdriver (Phillips and flat-head)
- Wire cutters and wire stripper
- Voltage tester
- Ladder or step stool
- Safety goggles
- Electrical tape
Always prioritize safety when handling electrical installations. Wear goggles to protect your eyes, turn off power at the circuit breaker, and double-check that no power is reaching the wires with a voltage tester.
Step 2: Choose the Right Fixture for Your Space
When it comes to lighting, size and style are critical. If you’re considering modern dining room light fixtures, a linear pendant lighting setup might add sleek, functional style. Or, if your style leans toward farmhouse kitchen pendants or rustic pendant lights for a kitchen island, these fixtures can provide a warm, welcoming glow with a timeless charm.
Ensure the fixture size is proportionate to the room size and ceiling height. For higher ceilings, a grand vintage chandelier can add elegance, while retro flush mount ceiling lights are great for lower ceilings.
Step 3: Remove the Old Fixture
With the power off, remove the existing fixture by unscrewing the mounting bracket from the ceiling and carefully detaching the wires. Be sure to support the old fixture with one hand while you disconnect the wires to prevent it from falling.
Step 4: Install the New Mounting Bracket
Many modern lighting fixtures, including LED hanging lights and farmhouse kitchen pendants, come with their own mounting brackets for ease of installation. Attach the new bracket to the electrical box, making sure it’s secure. This step is crucial for heavier fixtures like chandeliers, as you’ll need a solid foundation to support their weight.
Step 5: Connect the Wires
Match up the fixture’s wires with the wires in the ceiling: black to black (hot), white to white (neutral), and the green or copper wire to the ground wire. Use wire nuts to secure each connection, twisting firmly to ensure they won’t come loose. Once connected, wrap electrical tape around each wire nut for added security.
Step 6: Attach the Light Fixture
If you’re installing a light fixture with a chain, such as a vintage chandelier, adjust the length of the chain according to your ceiling height. For linear pendant lighting or rustic pendant lights for kitchen islands, make sure they hang at a height that provides adequate lighting without obstructing views or walkways.
Carefully lift the fixture and secure it to the mounting bracket. Follow the instructions provided with your fixture, as attachment methods can vary slightly between modern dining room light fixtures and more intricate fixtures like vintage chandeliers.
Step 7: Attach the Bulbs and Shades
Add the bulbs and shades to complete your fixture. LED hanging lights and many modern fixtures now offer dimmable options, so consider energy-efficient LED bulbs for adjustable ambiance and longer lifespan.
Step 8: Turn the Power Back On and Test the Light
After ensuring everything is secure, restore power to the circuit and test your new fixture. Check that all bulbs are working correctly and that the fixture is secure.
Enhancing Style with Ceiling Lights
Whether you’re after a retro flush mount ceiling light for a unique look, a farmhouse kitchen pendant for rustic charm, or a sleek modern dining room fixture, the right lighting can transform your space. Proper installation is key to achieving a safe, beautiful result that elevates any room in your home.
Final Tips
- If you’re not comfortable with electrical work, always consult a licensed electrician.
- For oversized fixtures, have a friend help with installation.
- Choose dimmable bulbs for versatile lighting options, especially in dining and living areas.
With the right fixture and a little care in installation, you can easily give your home a lighting upgrade that enhances both style and function.

